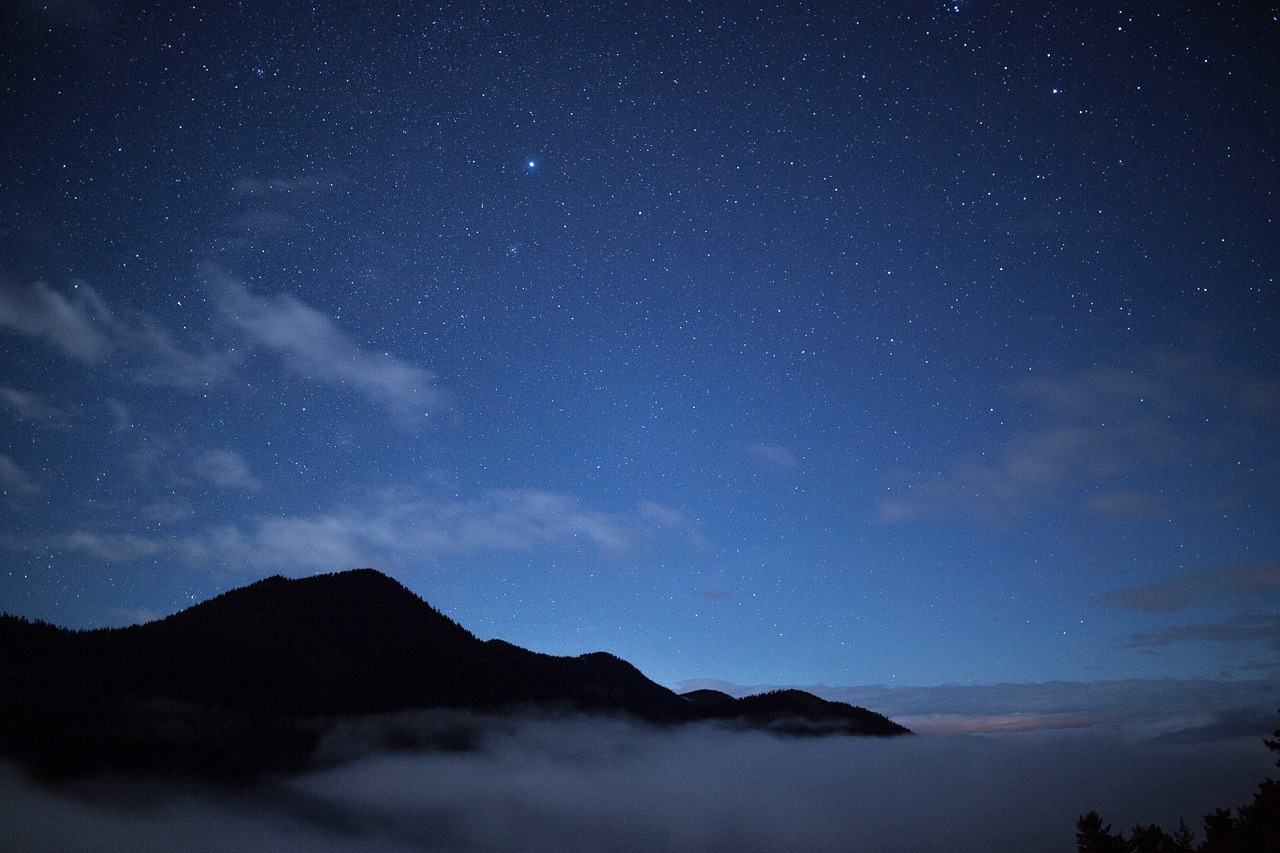
If you’ve been longing to take stunning photos at night, you’ve come to the right place! Use this guide to get you started.
Equipment Needed
– Camera that shoots in RAW format
- – Sturdy tripod
- – Remote shutter release or timer
Set Up Your Tripod
You can’t skimp on a good sturdy tripod. You need it to be stable even in wind and to hold the weight of your camera. As shooting at night requires longer exposures, the camera must remain still for longer than you can hold hold. As a general rule of thumb you can hand hold an exposure for a time as the focal length of your lens, i.e. for a 50mm lens you should be able to hand hold a shot at 1/50 of a second at ISO 100. If you’re really good you might be able to manage one or more seconds and still get a shot with no movement. But, still not enough for night photography.
Set Your Image Files to RAW
Setting your image files to RAW will take considerably more space on your memory card than the usual .jpeg format, but will capture an image with a great deal more information for you to use ensuring a much higher quality finished image when you come out of the darkroom.
Use the Manual Focus
The auto settings in cameras certainly have come a long way, but they don’t compare to using the manual settings, especially at night when the light is low and auto-focus does not function. Using the tripod gives you the time you need to manually adjust the shutter speed, aperture, and ISO, giving you full control over the shot.
It may take some tweaking to get the hang of it, but once you do, the results are well worth it. Be careful not to return your camera focus to auto as if you do, you will lose all of the settings you adjusted manually.
Become Familiar with Bulb Mode
The longest exposure time possible in many manual modes is about 30 seconds; anything longer than that, and you will need to shoot in bulb mode. This basically means that the shutter stays open as long as you hold it. Of course, you will want to use your remote shutter release, making sure it has a locking feature if you don’t want to have to hold it for the entire time. Depending on what you are shooting and what effect you desire will change the time the hutter should remain open.
Open Up the Aperture
A lower f-stop number equals a wider aperture. Night-time shots need all the light they can get, so set your f-stop as low as you can without compromising sharpness, especially along your edges. Remember that most lenses are at their sharpest in the area of f8, but f4 to f5.6 in most quality lenses will still produce an optimal images.
Use Lowest ISO
Using a really high ISO may create unnecessary noise in your image depending on the quality of your camera. While some high powered cameras are equipped with an ISO capability that can produce relatively quiet images at up to ISO 12,000, it’s best practice to stay as low as you can go. To find the limits of your camera’s ISO levels, take some test shots in low light at different ISO settings. Check the photos to determine at which point you begin to notice unacceptable digital noise and then stick below that.
Slow Shutter Speed
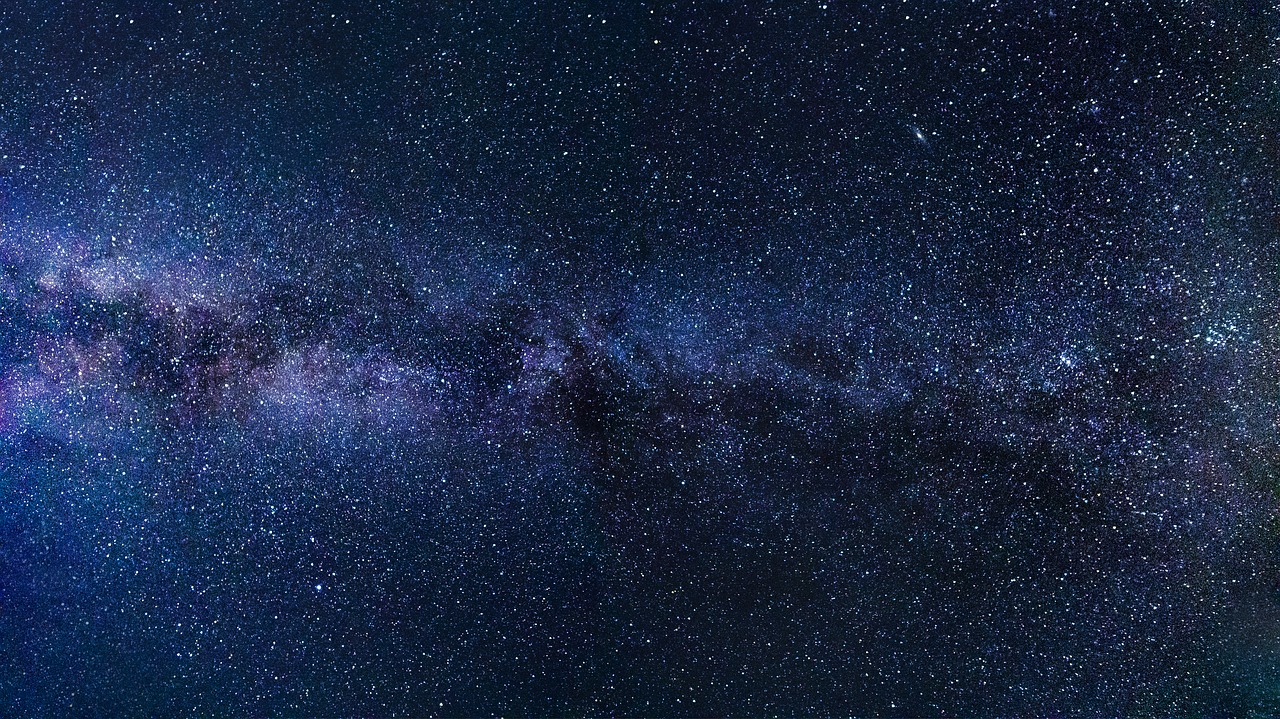
Using a tripod means that you can use longer exposures. Any movement in your pictures, like running water or moving headlights, will benefit from letting the shutter stay open longer. Remember though, if you are shooting images of, say, the Milky Way, that the stars will appear to be moving after 10-15 seconds.
Experiment with Bracket Exposures
This step is where you take a series of photos at different exposure settings (always keeping the same aperture) incrementally getting brighter or darker. The hope, of course, is that one of them will be the perfect one.
(Psst! Don’t miss our recent blog about photographing the Milky Way!)
Learn and Travel with Steinberg Photography
Are you a beginner or professional photographer looking to upgrade your skills or go on an adventure? Join Jim and Lori Steinberg of Steinberg Photography on one of their workshops and tours.