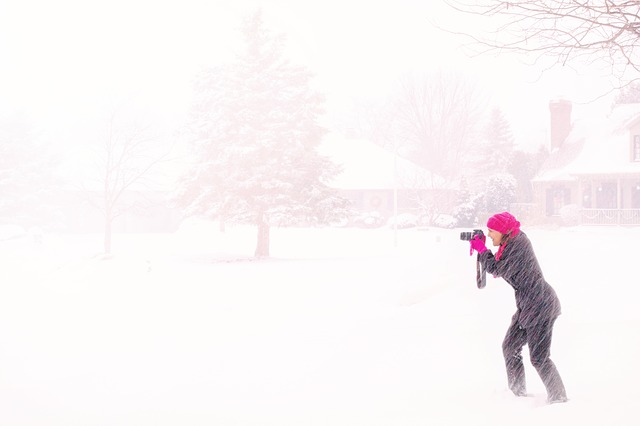
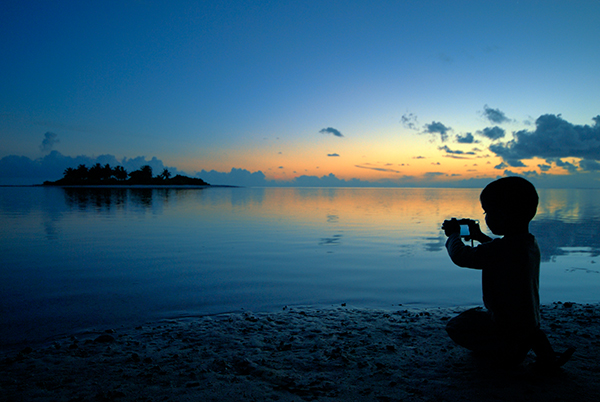
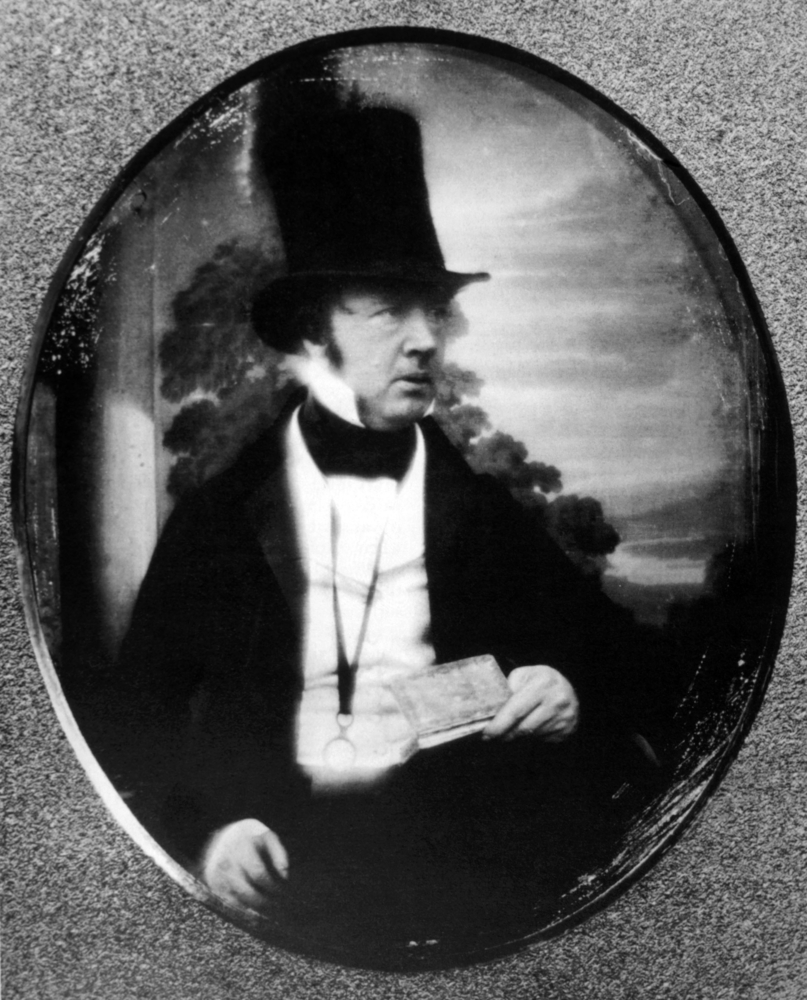
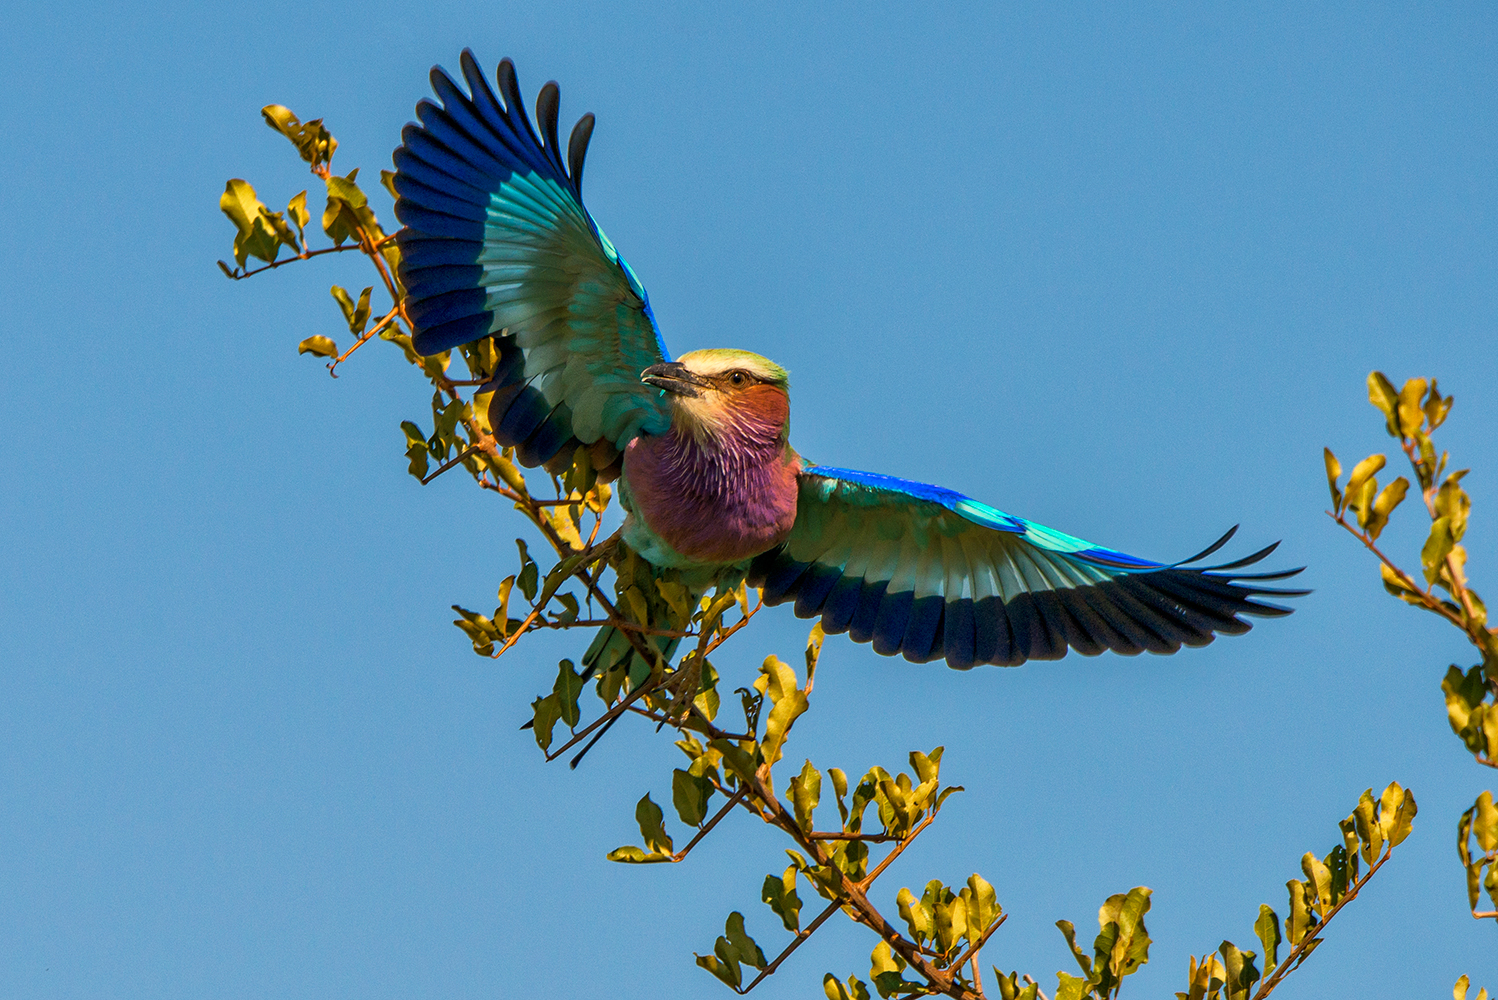
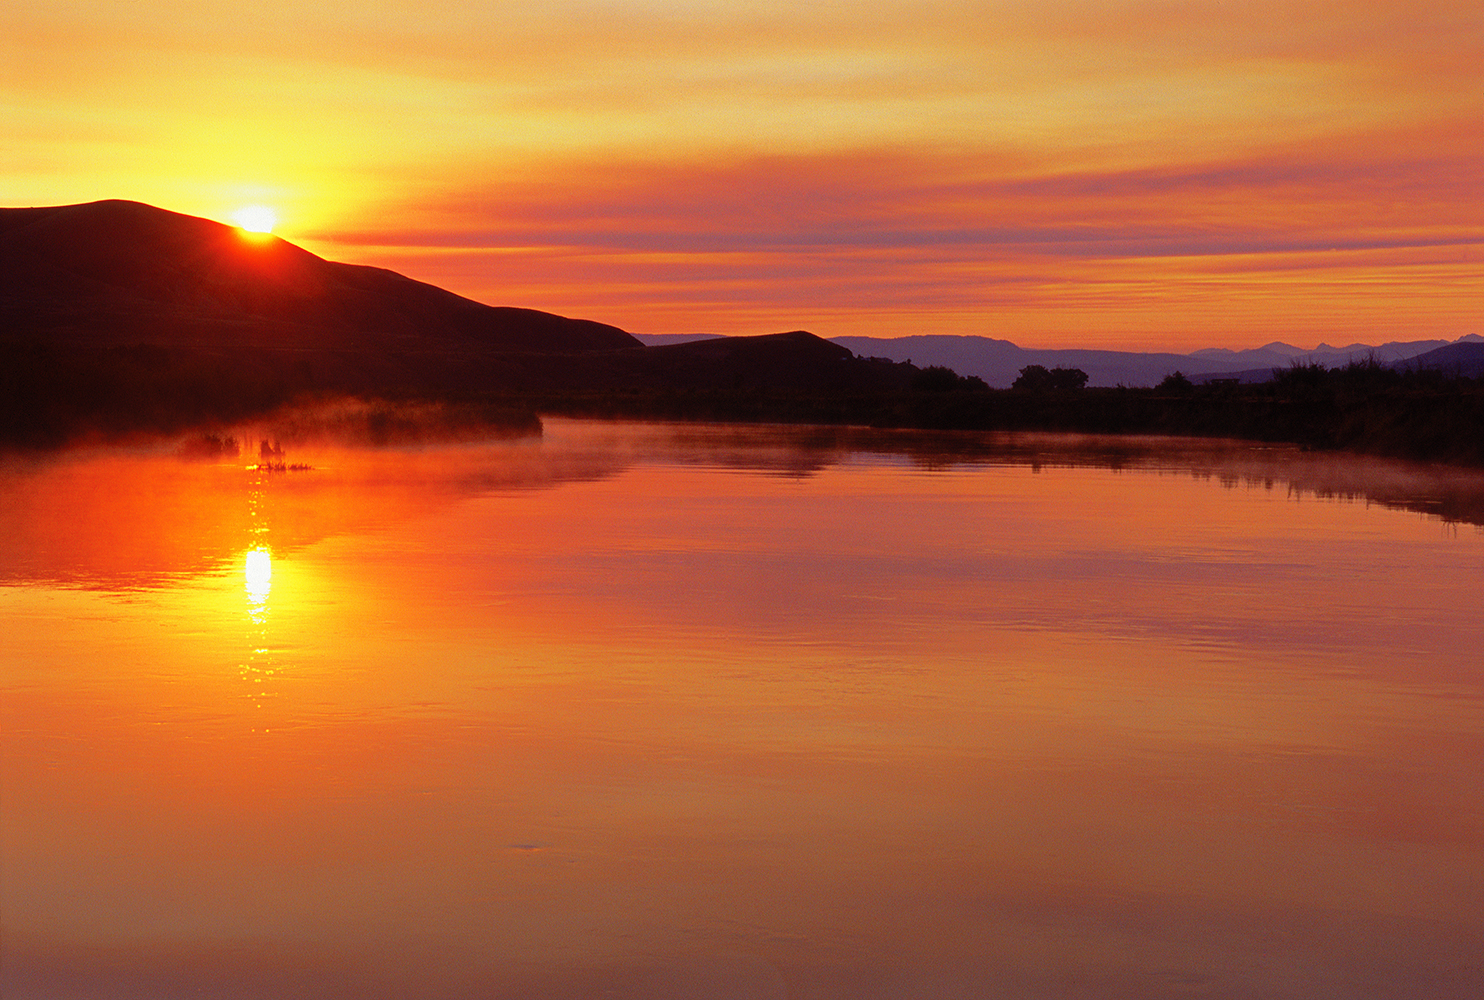
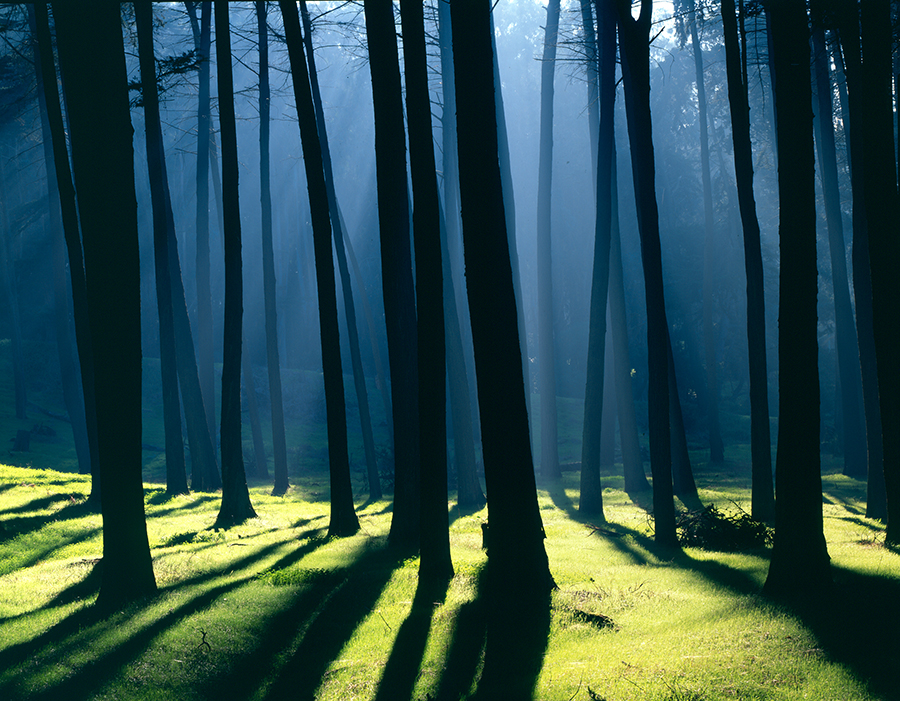
There are certain landmarks so deeply ingrained in the public consciousness — the Golden Gate Bridge, the Grand Canyon, the Great Wall of China — that they have become passé. Rather than capture scenic vistas or dramatic architecture, tourists prefer to capture their own image: a “selfie” is a way to personalize a familiar subject. But more importantly, a selfie allows tourists to insert themselves in the foreground of places they have seen for years in photos.
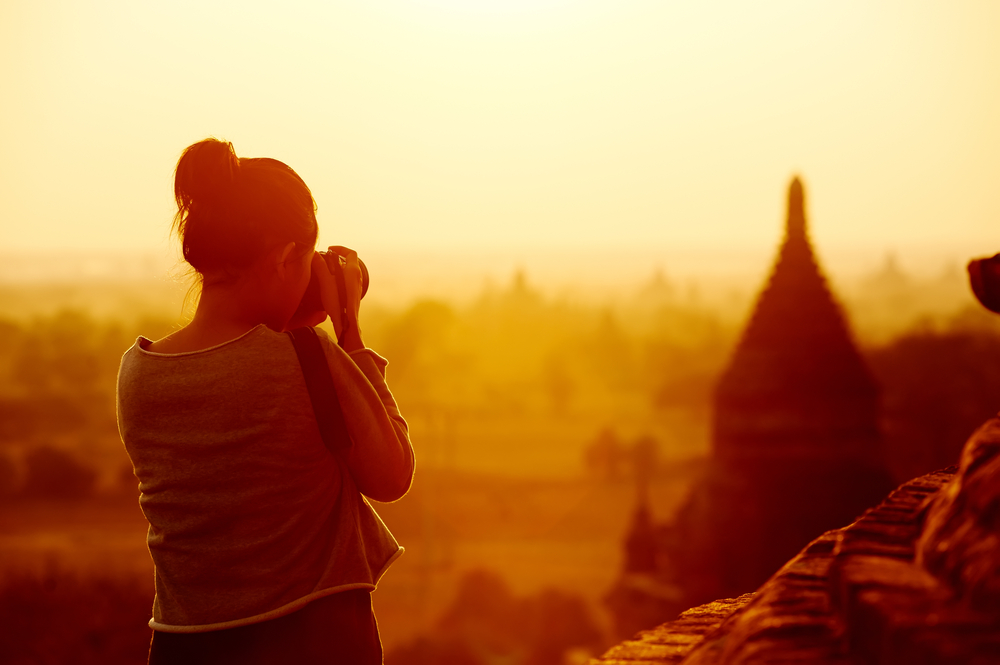
That is the power of travel photography: it inspires people to visit places by showing them what lies in store. Travel photographers straddle the line between artist and pitchman, exposing people to beautiful attractions while simultaneously encouraging their viewers to come see those attractions in person. Though it can seem a high-priced hobby, travel photography is a great way to profit from the marriage of two passions and can be done by anybody with a camera and a well-trained eye and mind.
What is travel photography?
Simply put, a travel photograph is any picture that compels someone to visit the place depicted in the photo. More specifically, travel photography is anything involving the tourism industry, including tourist attractions, local events/cultures/customs, people, hotels, and outdoor scenery. It spans all photographic genres: portraiture, landscape, wildlife, architectural, journalism, and event.
Travel photography is easy to get into: all you need is a camera. Make a habit of taking photos when you go on vacation; even if you don’t have the means to travel, hone your craft wherever you live! Just remember that as the entry barriers are so low, anyone can join the leagues of travel photographers working out there now.
Digital technology has made it easier than ever to market yourself. But merely uploading your work to sites such as 500px or Stocksy will not guarantee making money from you’re your licensed photos right away. However, it is a way to begin building a portfolio.
What it takes
Photography is one of the hardest arts to break into. The high cost barrier and the technical language both dissuade newcomers from giving it a try. Travel photography is even more arduous, with the added expense of travel and the risk of damaged, lost or stolen gear. Furthermore, the travel schedule puts immense stress on both the body and the mind, not to mention the various stressors that plague the photographer in any given destination: strange food, non-potable water, harsh weather, and often uncomfortable living quarters. Travel photographers must be adaptable, open-minded, and able to block off distractions. You must be able to see things from different perspectives: not only from the usual perspective; but, if you want to stand out from the crowd, you must also find a different way to make the same picture. A lost suitcase or a sleepless night cannot prevent you from perfectly capturing a sunlit bridge or perfectly positioning a street musician before you snap a picture. Remember that there are no excuses. If you don’t get the shot, no one cares why, only that you did not get it.
Hone Your Craft with Steinberg Photography
Photography is an art form through and through, and becoming a professional is no easy task. But Steinberg Photography can help. Join one of our group workshops, book a private session or join our upcoming Colors of the Rockies guided photography tour, and we’ll give you the tools and the training you need to hone your talent and unlock the artist within! Visit our homepage today to find out how.
All posts by admin
Getting Serious About Landscape Photography? Invest in These 4 Tools
Landscape photography offers powerful opportunities to create mood and visual appeal through outdoor beauty. However, since it involves shooting in the great outdoors, landscape photographers have to do a little extra preparation to ensure a safe and effective shoot. So how to optimize your toolkit for this rewarding (and beautiful!) practice?
As photographers, we spend a great deal of money on essentials like lenses, cases and camera bodies — but small accessories can make a big impact. Our four favorites:
Filter Holder
Being able to easily access your filters is essential to capturing outdoor lighting condition’s nuance. A good filter holder should be able to store, at minimum, two filters (two 4×4″ and two 4×6″), your circular polarizer, and adapter rings, plus protect them from jostling or scratching. Seek out a well-cushioned model to keep these essential tools both safe and handy, or look up one of the Internet’s variety of tutorials to create an effective DIY version.
Tripod Feet
The tripod is your camera’s best friend — and therefore yours — in the field. Keeping it stabilized isn’t just important to achieve a good shot: in rocky or unstable terrain, a tripod spill could be disaster for your lens. Protect your equipment and your output with tripod feet. There are two main varieties, foot spikes and claw feet. The first locks the legs deeply into sand or loose earth, while the second can grip onto a rock face — even steeply angled ones.
Hoodman
There’s nothing worse thinking you’ve made the “perfect shot” only to get home view the image on your comouter screen and find that one of your main areas of focus in not sharp. Our LCD viewing screens on cameras are a good way to compose, but a poor way to check if what we want to be in focus is in focus. So we highly recommend a Hoodman for viewing. These devices enlarge what you are seeing on the camera’s view screen and allow you to make the necessary adjustments prior to making the image.
Souped-Up GPS
Keeping a specific and accurate record of where you’ve been can be a massive help to the landscape photographer. Finding the perfect angle from a well-known location, visualizing whether you’ve been shooting in one place too much, or marking a new hotspot: all can be accomplished through a simple iOS app called GPS Tracks, which exports geo-data info right into photos’ EXIF data as they’re taken.
Visit our homepage today to discover a wealth of resources and opportunities for the aspiring photographer. Our accessible photography workshops and exotic guided trips can help you hone your skills, develop a unique style, and boost your artistic potential.
A Few Tips for Incredible Landscape Photography
Landscape photography is the first love for many amateur photographers who later dream of becoming professionals or semi-professionals. There’s just something about venturing out into nature and attempting to capture its incredible beauty that, for some people, gets the creative juices flowing like nothing else.
Whether it’s the stillness and quietude that comes with waiting for the perfect moment to arrive or the combination of the mental and physical test of finding the perfect vantage point from which to shoot, landscape photography presents some challenges that can frustrate and inspire even the most experienced professionals.
If you’re already hopelessly hooked on finding that next memorable outdoor scene, or if you’d like to get started on learning whether or not landscape photography is inspiring to you, here are a few nature photo tips to help you on your path.
Go For Maximum Field of Depth
In some situations, and with a little more experience, you will want to experiment with a more narrow field of depth. However, when you’re first starting out, the default approach should be to keep as much of your subject or scene in focus as possible.
Choosing a smaller aperture setting will help give you that increased depth of field you’re looking for in your pictures. Of course, remember that a smaller aperture setting requires a lengthening of shutter speed or an increase in ISO (or both) to compensate for the lack of light hitting the image sensor.
Find a Point of Focus
Landscapes, like any shot, require a focal point. Nature photographs with no object or area of focus often end up looking and feeling “empty” to viewers.
Focal points come in many forms, including structures or buildings, silhouettes, rock or boulder formations, and eye-catching trees that stick out from their surroundings. Pick one that stands out in your scene and then, starting with the rule of thirds technique, place it in an optimal location within your shot.
Utilize Foreground
The foreground is a space where you have the opportunity to create depth and draw viewers into your image. Always be on the lookout for points of interest that can help you maximize the effect of your foreground.
Capture Lines
One question a landscape photographer should ask is ‘how am I leading the viewer’s eye?’ Using points of interest in the foreground will lead viewers into the image, and providing them with well delineated lines will pull them even deeper.
Lines create scale and depth and can be focal points in and of themselves simply by establishing strong patterns within the image. I base all of my compositional methods on the use of line and form, and advise other photographers to do the same.
Landscape Photography Workshops
These tips will get you started on the path to becoming a better landscape photographer. If you are ready to take an even bigger step in your nature photography, there’s no substitute for one-on-one instruction from a professional.
Steinberg Photography offers landscape photography workshops to help amateurs and semi-professionals hone their craft. Visit our homepage to check our workshop schedules and join one today or call to arrange your own private instructional sessions!
How to Turn a Passion Project Into a Photo Book
Are you always running short on gift ideas around Christmas or birthdays? Combining photography with the unique passions or places in your life can help you give something lasting and meaningful to the people closest to you.
I’m talking about creating a coffee table photography book. If you don’t think you have anything interesting to document, think again. Recently I came across a story on a photography blog that shared an example of a woman who was inspired to make a book out of pictures taken of her family farm.
Like many people with an interest in photography but a lack of confidence in where to begin or what to focus on, she didn’t believe that there was anything interesting enough in her life to turn into a book. With a little bit of prodding from a professional photographer, she revealed that many aspects of the family farm she had recently taken over had changed over the years. Talking more on the subject, she realized there were numerous places on the farm that brought back touching memories of her father and her childhood.
With a little brainstorming, anyone can find the inspiration for an amazing photography book within his or her life. Even if your book never becomes a bestseller that graces millions of coffee tables around the world, at least you will have some wonderful gifts to give to those you love.
If you’re ready to get started on your photography book, here are five of the basic elements you’ll need to be successful.
Passion
You must have subjects or places that fire your passion. To stay focused and hit your project goals, you’ll need to tap into this passion and ride it out until you know in your gut that you’ve completed your mission.
Variety
Redundant images are a common problem for fledgling photographers. By developing a variety of techniques and strategies for capturing your subject you will find that each image becomes unique and brings a news perspective, and you’ll be able to hold your viewers’ attention and earn their awe with the turning of every page.
Patience
The right subject or the perfect shot doesn’t always reveal itself immediately. The weather may not be just right or other conditions may create obstacles to getting everything just right the first time you try. Additionally, your preferred subject is likely to be more complex than you originally expected. Whatever the case may be, you can’t afford to get frustrated. Stay patient and focus on your goals, and remember that every day is new and different from the previous day and will present new opportunities for your photography.
Openness
Being open to constructive criticism is a valuable trait for any photographer. As you start to build a body of work, finding a mentor or instructor who can help in this phase is important as this person is more likely to give you unbiased input and ideas on how to improve your photography than friends and family. Listen to their feedback and be open to change.
The Big Picture
Every story has an arc to it. Carefully planning the order, or sequence, of the images in your book will help you get your point of view across and more successfully tell the story. Step back and think about the overarching theme of your work and arrange the photographs in the order that makes the most sense in telling the story.
Take the Leap!
If you’re ready to make the leap from hobbyist to professional, a Steinberg Photography workshop with landscape photographer Jim Steinberg will give you the skills needed to accomplish your goals. Whether you want to make a coffee table book, shoot landscapes, create a calendar, or something else, you can learn everything you need to know in one of our instructional workshops or private one-on-one sessions.
Learn more by visiting the Steinberg Photography homepage.
Taking a Picture vs. Creating a Photograph
With the increasing prevalence of cost-effective digital photography equipment, it’s easy to expect that you will be able to take “professional” quality pictures immediately after unwrapping the box. But there’s so much more that goes into the delicate art of creating an image that truly reflects the artist’s vision and captures the soul of the subject. The art of photography lies in the space between immediacy and preparation — blinding inspiration and years of groundwork.
Constant Vigilance
Being there at just the right moment isn’t blind luck. Yes, the accidentally perfect candid shot can seem like a gift from the gods — but it’s the exception, not the rule. An intentionally trained eye will continually be on the lookout for potential frames. Identifying an interesting subject, finding its angle and light, determining the right moment to shoot: all should become second nature after a while. A good way to develop this habit is to make a policy of looking — just intently observing — at least one object in your daily life for thirty seconds a day. Do this for a week or two straight and you’ll find that your eye becomes more alert to aesthetic possibilities you may have glanced over without a thought.
Intentionally seeking beauty in the world around you is no easy task — but the reward can be an image that will shine in your portfolio for years.
Maintaining a Toolbox
Finding the material is just half of the equation. The other is developing a diverse skillset that can coax the potential out of what’s in front of you. Taking part in a photography workshop with your peers—led by an expert is a great way to stay on top of your craft. The savvy photographer will know how to work with the situation, deploying the right technical skills for the job. If a technique becomes easy and reliable, you risk falling into an artistic rut. You can shoot luminous dawn landscapes for days, but if you’re unfamiliar with indoor lighting, your party snaps will probably be overexposed and flat.
Mind Your Time
“Shooting digitally = unlimited shots” is nothing short of a harmful myth in the photography community. Older cameras forced photographers to limit their snaps in order to preserve film; now, we have the ability to capture hundreds or thousands of images to convenient SD cards. Great, right? Except for one critical factor: time.
It’s a sad truth of life that the day is never quite long enough to do everything that needs doing. Whether you’re a hobbyist, professional, or aspiring photographer looking to go pro, there’s always a time burden involved in the editing process. Instead of snap-snap-snapping with the plan to sort it out in post, try to limit yourself to as few shutter clicks as possible — you will find that quality trumps quantity. Remember that the more frames you shoot, the more time you will have to take in editing. Another great reason to take part in a photography workshop is that it will develop discipline to limit your frames and focus on the most promising pictures/subjects.
Visit our homepage today to discover a wealth of resources and opportunities for the aspiring photographer. Our photography workshops and guided trips can help you hone your skills, develop a unique style, and boost your artistic potential.
Going Pro with Getty — Stock Licensing Your Portfolio
Getty Images is a great resource for PR and communications pro’s looking to buy stock photos — but did you know it’s a marketplace for creatives to sell work too? Many image creators have leveraged existing portfolios into a profitable side business by licensing their photos through the agency. While it’s not for everyone and there are considerations to take into account before signing up, Getty offers flexibility, ease and potential that distinguishes it among other digital image marketplaces.
Finding the Right Price
The first step is to determine whether the potential income stream is worth the time and effort of setting up a presence. Unfortunately, there’s no real benchmark to determine how much you’ll earn off the bat, as the organization does not release financial reports on its contractors and income in the photography world can vary wildly regardless.
The average sale price of a Rights Managed image is roughly between $200 and $500. However, between in-house commission rates and transaction fees, the original artist should only expect to take home roughly 30% – 50% of a licensed image’s sticker price. Furthermore, you’ll have to pay contractor taxes on this income — hobbyists thinking it’s as easy as uploading a .jpg and waiting for the cash to roll in may have a nasty surprise come tax time.
The Upsides
Even with financial considerations, there are upsides to Getty licensure as well. Since it is a large-scale and reputable stock photo site, the images are much more likely to be purchased (in some cases multiple times) by consumers. Potential future marketability matters too — if a prestigious brand buys the image, you can use “work published in Rolling Stone” as an eye-catching hook on your CV to draw in private clients.
Success Metrics
According to a Selling Stock report by Jim Pickerell, photography business analyst, the majority of people who photograph full-time make their living on private clients and commissions. However, the trends indicate that stock photo sales are a common source of supplementary income, offering a modest but steady stream of cash to offset the expenses of running a photography business.
Ultimately, expecting stock photo sales to become full-time money (especially right off the bat) is unrealistic. But if your portfolio is rich with technically proficient and aesthetically interesting work samples, letting them soar into the digital marketplace can yield surprising rewards.
Size Does Matter
In order to make things actually happen your files need to be big enough that buyers can find what they need. Thinking that uploading 50-100 images will bring you a steady stream of income is wishful thinking. A more reasonable number would be to start with at least 500+ images and continuing to add additional images on a regular basis. With a file of thousands of images fro which to select, you are more likely to reap consistent rewards from your photography.
Put your vision onto paper with Steinberg Photography’s skill-building photography workshops and guided trips. Visit our homepage to find out how you can work with professional landscape photographer Jim Steinberger to build your portfolio and develop your style.
How Aspiring Photographers Turn into True Pros
Few things are more exhilarating than realizing that a beloved hobby can become a professional calling. Many established and successful photographers started off their careers as dedicated amateurs. But as with anything in life, there are pitfalls to watch out for and best practices to follow. If you’re ready to step up your game from a “labor of love” snapshooter to a “day job” professional photographer, here are a few things you need to keep in mind:
Always Be Prepared
Compliments from friends and family on your photos are great, but aren’t enough to seriously consider making the leap to paid work. If you’re serious about becoming a pro, your portfolio should reflect that. Clients want to see something of a similar quality to what’s published in magazines and on TV, which means that you’re not ready to launch your brand until you’ve taken a serious, in-depth look at both your skillset and your body of work. Better yet, a photography workshop or critique session with some local photographers (or failing that, an online community of professionals) will yield valuable insight on techniques you need to strengthen to be truly competitive. Additionally, portfolio reviews are generally available at many professional conferences. I do them regularly, both at conferences and as one-on-one private sessions.
On a similar note, a flashy website isn’t the guaranteed, client-grabbing solution that many think. Yes, your brand should be attractively displayed — but even the prettiest Web 2.0 facelift won’t help if you lack both the breadth and depth of technically proficient, aesthetically appealing shots.
Master the Fundamentals
You should be rock-solid in your core competencies — particularly lighting — before ever printing a business card. All too many aspiring photographers start branding before they fine-tune their craft. “Natural light” photographers often let their passion for natural lighting become an obstacle, and never learn the intricacies of using flash either in the studio or especially in the field. Sure, you can take stunning images in natural light — but a professional photographer can’t go on a shoot relying on the weather to cooperate with his/her artistic intentions.
Invest In Your Brand — Not Yourself
“Awesome!” you may think to yourself. “Now that I’m a pro, it’s time to go out and buy all that fancy equipment!” Don’t be so hasty — overinvesting in expensive equipment is a common pitfall for aspiring photographers. Expensive gadgets are no replacement for a deep knowledge of photographic principles, and every purchasing decision should be in your business’s long-term interests. Put down that single-use specialty lens and consider your basic setup first. It should always be remembered that the camera is nothing more than a tool. And as with all good tools, it is the operator that makes the difference.
That being said, don’t go too far in the other direction. If you’re an aspiring photographer and you’re serious about being paid for your services, having a minimum of one backup kit and lens is non-negotiable. The last thing you want is to be on a shoot (perhaps with a deadline) and see the dreaded “ERR-99” pop up on your only camera. There are many Internet guides that can help you balance cost with reliability — peruse a few of them and choose a second shooter, for both your business reputation and your peace of mind.
If you’re looking to turn your hobby into a profitable career, we can help. You’ll learn the basics of light and landscape photography from professional landscape photographer Jim Steinberg, and have the opportunity to network with other aspiring photographers. Visit our homepage today to learn more about our affordable classes, guided adventure trips, and wide selection of prints.
Copyright Law: A Guide for the Aspiring Photographer
Many aspiring photographers make the mistake of not fully understanding copyright law before embarking on their artistic journey. Using material that is copyrighted by the creator without permission is considered infringement, which can lead to serious legal ramifications. On the other side, failing to protect your own work can lead to it being used by outside parties without credit or reimbursement.
To avoid these situations, we’ll give you an abbreviated refresher on copyright law and what it means for the aspiring photographer.
The Basics
The most basic definition of copyright is the legal ownership of a work, whether it be a mechanical patent or creative material like a photograph. Copyright gives the owner power to give permission for their work to be used or reproduced — usually with repayment stipulations in place — while still retaining ultimate control and ownership.
Copyright and Photography
The United States Copyright Office considers the copyright of a photograph or other artistic work to lie with the original creator (or, in some cases, an employee of the creator). For example, even if a wedding photographer goes to an event to take pictures of the bride and groom, the photographer ultimately own the photographs — not the wedding party. In some cases, the subject of a photograph will ask for the copyright to any material produced to be transferred to them along with the agreed-upon deliverable (in this case, the album of wedding pictures). Since copyright is considered a property issue, it is also transferrable via inheritance or succession to the creator’s heirs.
Publication and Infringement
The most critical issue in photography copyright law is publication. Although these terms are a little blurry with regard to digital display technology now available via the Internet, the generally agreed-upon definition of “publication” is anything that puts the work on display to be viewed by a large number of people.
A photographer may submit his/her work for copyright in individual photos or through a batch to the US Copyright Office. (If submitted in a batch, all photographs included must have been taken by the same person in the same calendar year.) After the formal copyright is granted, it’s a good idea to display notice either via a watermark or note on the portfolio. If your work is the victim of “innocent” infringement, where the user was not aware that the work was protected, you may not receive the full damages or recognition should you take legal action.
If your copyrighted photographs are used without permission, you have a few options. Simply asking the venue to take it down can be an effective and zero-cost way to stop the unwanted reproduction. You may also ask for a stipulated fee for the use. If you are met with resistance, filing a DMCA (Digital Millennium Copyright Act) through the user’s Internet provider or sending a formal Cease & Desist letter are stronger options. If all else fails, a trained intellectual property attorney can take the user to court, although this entails significant time and resources for all parties involved. Do remember that any copyright law issue going to court will be heard in the Federal Court system as state and local courts have no jurisdiction in these matters.
Take Your Hobby to the Next Level
If you’re looking to turn your hobby into a profitable career, take the leap with a photography workshop run by professional landscape photographer Jim Steinberg. To learn more about our guided trips overseas or to browse our wide selection of prints, please visit our homepage.
Photo Manipulation Controversy: Ethical Breach or Creativity?
The recent 2015 World Press photo competition was home to a great deal of controversy when several of the favored images were disqualified for “overmanipulation.” For professional and amateur photographers alike, this raises the question: how much alteration is too much? When does post-production manipulation become deception? Photoshop and assorted post-production tools are an integral part of the photographer’s toolkit, but many purists look upon them as “cheating.” Today we’ll explore the ethics of staging and manipulation and try to find the line between recording images and creating art.
The Ethical Issue
The World Press Society is currently retooling its entry rules to be more in alignment with ethical journalistic practices — which is to say, staging the photo’s contents or altering them digitally is now forbidden. Over half of the 1,500+ photographers surveyed by the organization admitted to “sometimes” staging photographs, while more than 10% said they did so more than half the time. While this practice is expressly forbidden by newswire services and the Associated Press, it’s apparently become something of an open secret in the photojournalism community.
The conductors of the study later stated that the questions may have been confusing, and pointed out that expecting photojournalists to remain completely removed from the events they document is unrealistic. Even with these stipulations, the conversation continues: where is the line between recording and creating?
The Professional Perspective
The New York Times surveyed photographers and photo editors regarding the controversy. The opinions were diverse, but it was generally agreed upon that photo editing and manipulation are far more widespread than is perceived by the public. Stanley Greene of Noor Images characterized the practice as poisonous to the public’s trust in the media, particularly with regard to disaster areas. The Associated Press’s photography vice-president condemned staging as having “no place in journalism,” while Donald Weber of VII Photo Agency urged readers to look toward the problem’s source: media members who prioritize clicks, views, and shares over journalistic ethics.
The Counterpoint
Not everyone agrees that staging or otherwise manipulating photographs is inherently unethical. A directed picture can sometimes convey truth that an in-the-moment snap would miss — and a good image’s attention-grabbing nature means that people pay attention to critical news issues they may otherwise overlook.
The ethical lines between staged and candid photography are fine and easily blurred, and the definitions of both often shift over time. However, the World Press’s strong pushback shows that for some ethical lines are still firmly drawn.
Prints, Workshops, and Adventures with Landscape Photographer Jim Steinberg
If you’re interested in learning the basics of landscape photography from expert Jim Steinberg, please visit our homepage for more information.
The Value of Photography in the Digital Age
Photography has never been a more integral part of our daily lives than it is today. With everyone carrying smartphones, nearly every activity turns into a photo op. 25 years ago ago, people would be shocked at the level to which photography has permeated our lives. So, we’re all photographers now, right? Wrong. Indeed, owning a camera no more makes you a “photographer” than owning a hammer makes you a contractor. There’s always been a difference between taking pictures and creating indelible images and making art—though the distinction has been blurred by the power of digital cameras, the universality of smart phones, and the transformative power of photo editing software. We’ll give you a brief history of digital photography, and show you why technology is no replacement for skill.
A Brief History
The first digital camera was developed by an engineer at Eastman Kodak Company in 1975, though it would still be several decades before the quality of digital challenged that of traditional film. In 1991, Nikon invented the first consumer-ready digital camera. The price was prohibitively high to all except those devoted amateur photographers and photojournalists. As the power of microchips rises exponentially, the power of digital cameras rises as well. As the quality of sensors improves, so does the quality of the digital images they produce. And, as the sophistication of post-production software grows, so too does the ability of the photographer to make even more interesting and sophisticated images.
Technology Can’t Replace Skill
You don’t need a three-thousand-dollar camera to capture images of stunning beauty. In fact, many of today’s leading photographers use cameras that aren’t considered “cutting edge.” The reason is simple: the best camera available isn’t worth a dime if you don’t know how to use it. Photography is about more than pixels; it’s an art form that deals in color, shadows, composition, and choice of subject. Always remember that the best and most powerful computer is not the one in the camera, but the one located in the 5 inches between your ears. Despite the universality of digital cameras, the appetite for superior quality images (artistic quality, that is) is in high demand. The internet has provided a wonderful resource for large quantities of accessible imagery, but truly great photography continues to stand out from the crowd. Whether you’re just looking to develop your artistic eye, or you want to turn your hobby into a source of income, Steinberg Photography can help.
Learning from Steinberg Photography
We offer landscape photography workshops and guided adventures (safaris in Africa, fly fishing trips, etc.) to help you take your craft to the next level. At Steinberg Photography, we also sell coffee table books, calendars, and other products with Jim Steinberg’s professional imagery. If you’d like to take your hobby to new heights, or if you’re just interested in getting together with other amateur photographers, we can help. Visit our homepage for more information.
A Concise History of the Camera
Today, we’ll take you through the entire process, from the earliest experiments with refracted imagery to today’s digital cameras—some of which are small enough to fit in the palm of your hands, and others that are powerful enough to examine the furthest reaches of the universe.
The Beginning
The first thing we could call a ‘camera’ would be the heliograph, which was invented in 1826 by a scientist in France. It was nothing more than a wooden box with a hole cut in it. Light projected through the hole and hit a pane of glass coated in bitumen, a chemical that hardens when exposed to light. When washed with oil of lavender, only the hardened areas would remain on the pane, creating a negative. The age of the photographic negative lasted nearly 60 years, with periodic improvements along the way. The daguerreotype was a simplified version of the heliograph that used silver plates and iodine. Both these early methods required bulky materials, very large cameras, expertise with chemicals, and long exposure times (20-40 minutes)—limiting cameras’ usefulness.
Early Advances
The calotype, created in the U.K. in 1839, produced an inferior image to the daguerreotype, but had reduced exposure times. The greatest advantage of the calotype was that its photographs could be easily copied. The next advance, dry plate photography replaced metal plates with a gelatin that did not require immediate development in a darkroom tent. This allowed photographers to travel further and take more pictures before developing them.
20th Century Photography
Celluloid film was invented in 1884, and by 1888 a small and intuitive camera, the Kodak, was created to use it. This was a huge turning point, because anybody could use a Kodak camera. When the camera’s 100 shots were taken, users would send the camera back to Kodak for development. By 1924, the first cameras that resembled our modern-day cameras were being developed at the Leitz factory in Germany. They included shutter speed and aperture dials, shutter releases, view finders, a film counter, and even a self-timer. With the Leica, photographers could do the entire photographic process themselves. In 1936, the last great development in photography before the digital age came with the 35mm Ihagee Kine Exakta. It featured a left-handed shutter release, a thumb lever for rapid film winding, and a 12 to 1/1000th second shutter.
The First Digital Camera
The first digital camera (pictured above) was developed by Eastman Kodak Company in 1975. Kodak took little interest in developing the technology further, however, and instead focused their attention on film. Eventually, Eastman Kodak Company was practically put out of business by competitors’ digital cameras—the very technology they had invented. What irony!
Today
Today’s digital cameras have turned photography on its head—once again. With practically unlimited storage space and now unimaginable potential in terms of quality, digital cameras even have experts in photography stumped. Where will it head from here? Most recently, the Department of Energy has given the go-ahead to build a 3.2-gigapixel digital camera that will pick up more light than any telescope currently in existence.
Mastering the Basics with Steinberg Photography
If you’re interested in learning the basics of landscape photography from expert Jim Steinberg, please visit our homepage for more information.
An Abridged History of Photography
Cameras are everywhere these days. Even if we don’t own what we traditionally think of as a camera, there is always one in our pocket, built right into the device we use all the time – our phone. They have become so ubiquitous that the only way to truly appreciate what we’ve been afforded by digital technology is to take a look back at the history of photography and see how far we’ve come.
The Pinhole
Around 2,500 years ago, both Chinese and Greek writers described how light shining through a pinhole into a dark room would form an upside-down image on the wall. It was not understood why the image was reproduced upside down, nor why light shining through a rectangular hole would take the shape of a cone. It would take another 1,600 years to answer that question.
Camera Obscura
Building off the observations of refracted light through a pinhole, Iraqi scientist Alhazen invented the camera obscura between 1011 and 1021. Unlike the pinhole ‘camera’ described by ancient Greeks and Chinese, the camera obscura was able to preserve color and perspective. Though the refracted image was not recorded in any way, by the 1500’s famous painters like Michelangelo were tracing the images produced by cameras obscura to create incredibly realistic paintings. By the 1800’s, cameras obscura used mirrors to flip the upside-down images back up-right.
Heliograph
The heliograph, invented in 1826 by Frenchman Nicephore Niepce, was a great leap forward—the true predecessor to the modern camera. It was able to create a permanent photograph—not just an image—by projecting light onto a pane of glass coated in bitumen, which hardens when exposed to light. When washed with oil of lavender, only the hardened areas would remain on the pane, thereby creating an accurate black and white reproduction. The first photograph made from nature was called View from the Window at Le Gras (1827).
Daguerreotype
The seminal development in photographic technology was the heliograph, though the daguerreotype, a simplified form of the heliograph, is the grandfather of the modern camera. It was a small, lightweight wooden box that used a brass-silver plate sensitized by iodine vapor. Camera exposure time was around 20 minutes, meaning anything not in frame for 20 minutes would appear as a blur or not appear at all. These techniques were being developed independently but simultaneously in both England and France where Fax Talbot was working though unbeknownst to Dagueerre on the same methodology.
Later Developments
After the daguerreotype, photographic technology progressed quickly, bringing down size and reducing shutter time. With the invention of celluloid film in 1884, photography entered the modern age. The first ready-to-use camera, the Kodak, was created in 1888 By George Eastman. By 1913, hand-held 35mm cameras that resemble our single lens reflect cameras were being produced in Germany. Between 1913 and 1975 when the first digital camera was invented, there were many developments in film photography:
• Zoom was introduced (1932)
• Camera size was reduced with roll film (1933)
• Roof pentaprism situated viewfinders above the lens (1948)
• Auto-exposure was developed by Canon in 1978
• Minolta implemented auto-focus in 1985.
A Holistic Experience from Steinberg Photography
As you well know, camera innovation didn’t end in 1985. To continue our educational series on the history of photography, keep an eye out for our upcoming blog on the Digital Age and its implications in the world of photography. Steinberg Photography runs workshops on landscape photography, post-production workflow and techniques, and guides travel adventures to capture stunning imagery. We also sell fine art prints, coffee table books, calendars, and notecards. Visit our homepage for complete information.
Photograph Composition: The Foundation of Exceptional Images
The most fundamental aspect of photography is the art of composition; that is, how objects in an image relate to each other and their background. It can be subtle and should always precise, and its students will find taking exceptional images suddenly more and more intuitive. Read on to learn about the importance of balance, flow, symmetry and more.
The Rule of Thirds
One of the most often-repeated pieces of composition tips is to use the “rule of thirds” — which is to say, align the main subject of the photo with the intersection of the horizontal and vertical one-third lines. Yet there are many other ratios many of which can provide for a much more interesting image flow. These include the Golden Ratio, a spiral-form version that draws the viewer’s eye through to the center with ease or using 5th or 8th’s instead of thirds. These other ratios derive from the Renaissance and the Greeks (Ionic Harmonies). Regardless, you will note that we are talking about a variety of ratios rather than just a single ratio. This gives the photographer many more options for the maximum use of the image space to convey the appropriate sense of place and space. (The bonus to any of these ratios is that they automatically provide for a built-in border around the main subject, making cropping a simple task).
Working with Color Composition
It’s generally advisable for the less experienced photographer to get a firm handle on the basic principles of using color as a compositional element in basic primary colors and tones before moving on to more complex full-color images. However, hues and shades play their own role in the process. The grid pattern of a fence can be sharply set off by a sunset’s riot of crimson and orange, for example. Conversely, an image with gorgeous rule-of-thirds alignment can be thrown out of whack by a clashing color splashed over the main palette.
The world of composition is deceptively simple. Anyone with eyes can appreciate the harmonious balance of a well-composed image, but few will take the time to learn the true extent of its nuances or how it is put together. Our lecture series on Composition through Form and Color will give you not only these basic principles, but show you how to apply them in a variety of situations.
Visit our other blog posts to find out more about how just a simple adjustment or novel use of equipment can transform your images from the ground floor up.
Photography Lighting 101: Easy and Effective Tricks to Get That Glow
Ever wondered why your photos lack the glowing, rich, deep look that you see in professional photography publications and blogs? The key is a strong sense of lighting both while shooting and in post-production. An engagement photo-shoot in a sun-dappled park, for example, will require an entirely different approach than a stormy seascape or landscape at dawn. Along with composition, lighting is the other fundamental aspect of the art that must be considered every time you pre-visualize a photograph.
The Basics: Light vs. Shadow
In thinking about lighting, we need to consider it in 2 ways: light and shadow. Shooting in strong and even light with dark, crisp shadows is an excellent way for a new photographer to get a grounding on how dramatically lighting effects composition. Train your eye to look beyond the subject matter and into the image’s overall balance of bright and dark. The shadow of a fence row, for example, might balance the lower portion of a picture with the stormy clouds above, or lead the viewer’s eye toward a distant figure on the horizon.
Of course, strong light has its pitfalls. If you are shooting towards the sun, beware of 2 problems: (1) spotty patches of reflected light coming off a surface; these can often be handled through the use of a polarizing filter and (2) spots of light bouncing off the lens elements causing degradation to the image. Using a lens hood and keeping an immaculately clean lens can help minimize the problem. Some photographers choose to produce it deliberately or just go with it to “enhance” the image, but I find the effect distracting. In these situations, I prefer to use my hat with its large brim as an auxiliary lens shade and find it works quite well until the sun is almost at the horizon.
Timing: When Opportunity Knocks…
Many professionals swear by “the golden hours” of sunrise and early evening when the diffused light from the sun produces intense, saturated results. However, any environment or time of day offers unique opportunities. Cloudy afternoons can be perfect for getting wonderful suffusive flower close-ups. On a bright sunny afternoon when contrast is at its highest, if a glossy subject, such as an automobile, is reflecting too much light, park it under a tree to diffuse the sunlight. Photographers must be able to be flexible and creative to get the perfect shot.
Having the appropriate equipment makes a big difference in achieving results that may be difficult due to environment or time of day. One good investment is an off camera flash that allows you to correct the difference in exposure quickly between shorter and longer ranges of distance. With this simple technique, you can create a final image where both foreground subject and background are more evenly illuminated.
Dramatic Outdoor Effects
While it may not have the even, consistent results of studio lights and reflectors, natural light with all its moods and subtle variations presents us daily with unparalleled opportunity for creating gorgeous photographs. Try achieving a bokeh effect, where the photo’s subject is sharply in focus while the background is fuzzy. This is particularly easy with the combination of a fast lens, defined sunlight (helpful though not necessary) and a good amount of space between the foreground subject and the background. (Don’t forget to use a wide aperture to isolate the subject as much as possible and double check for focus as your depth of field will not be very big.)
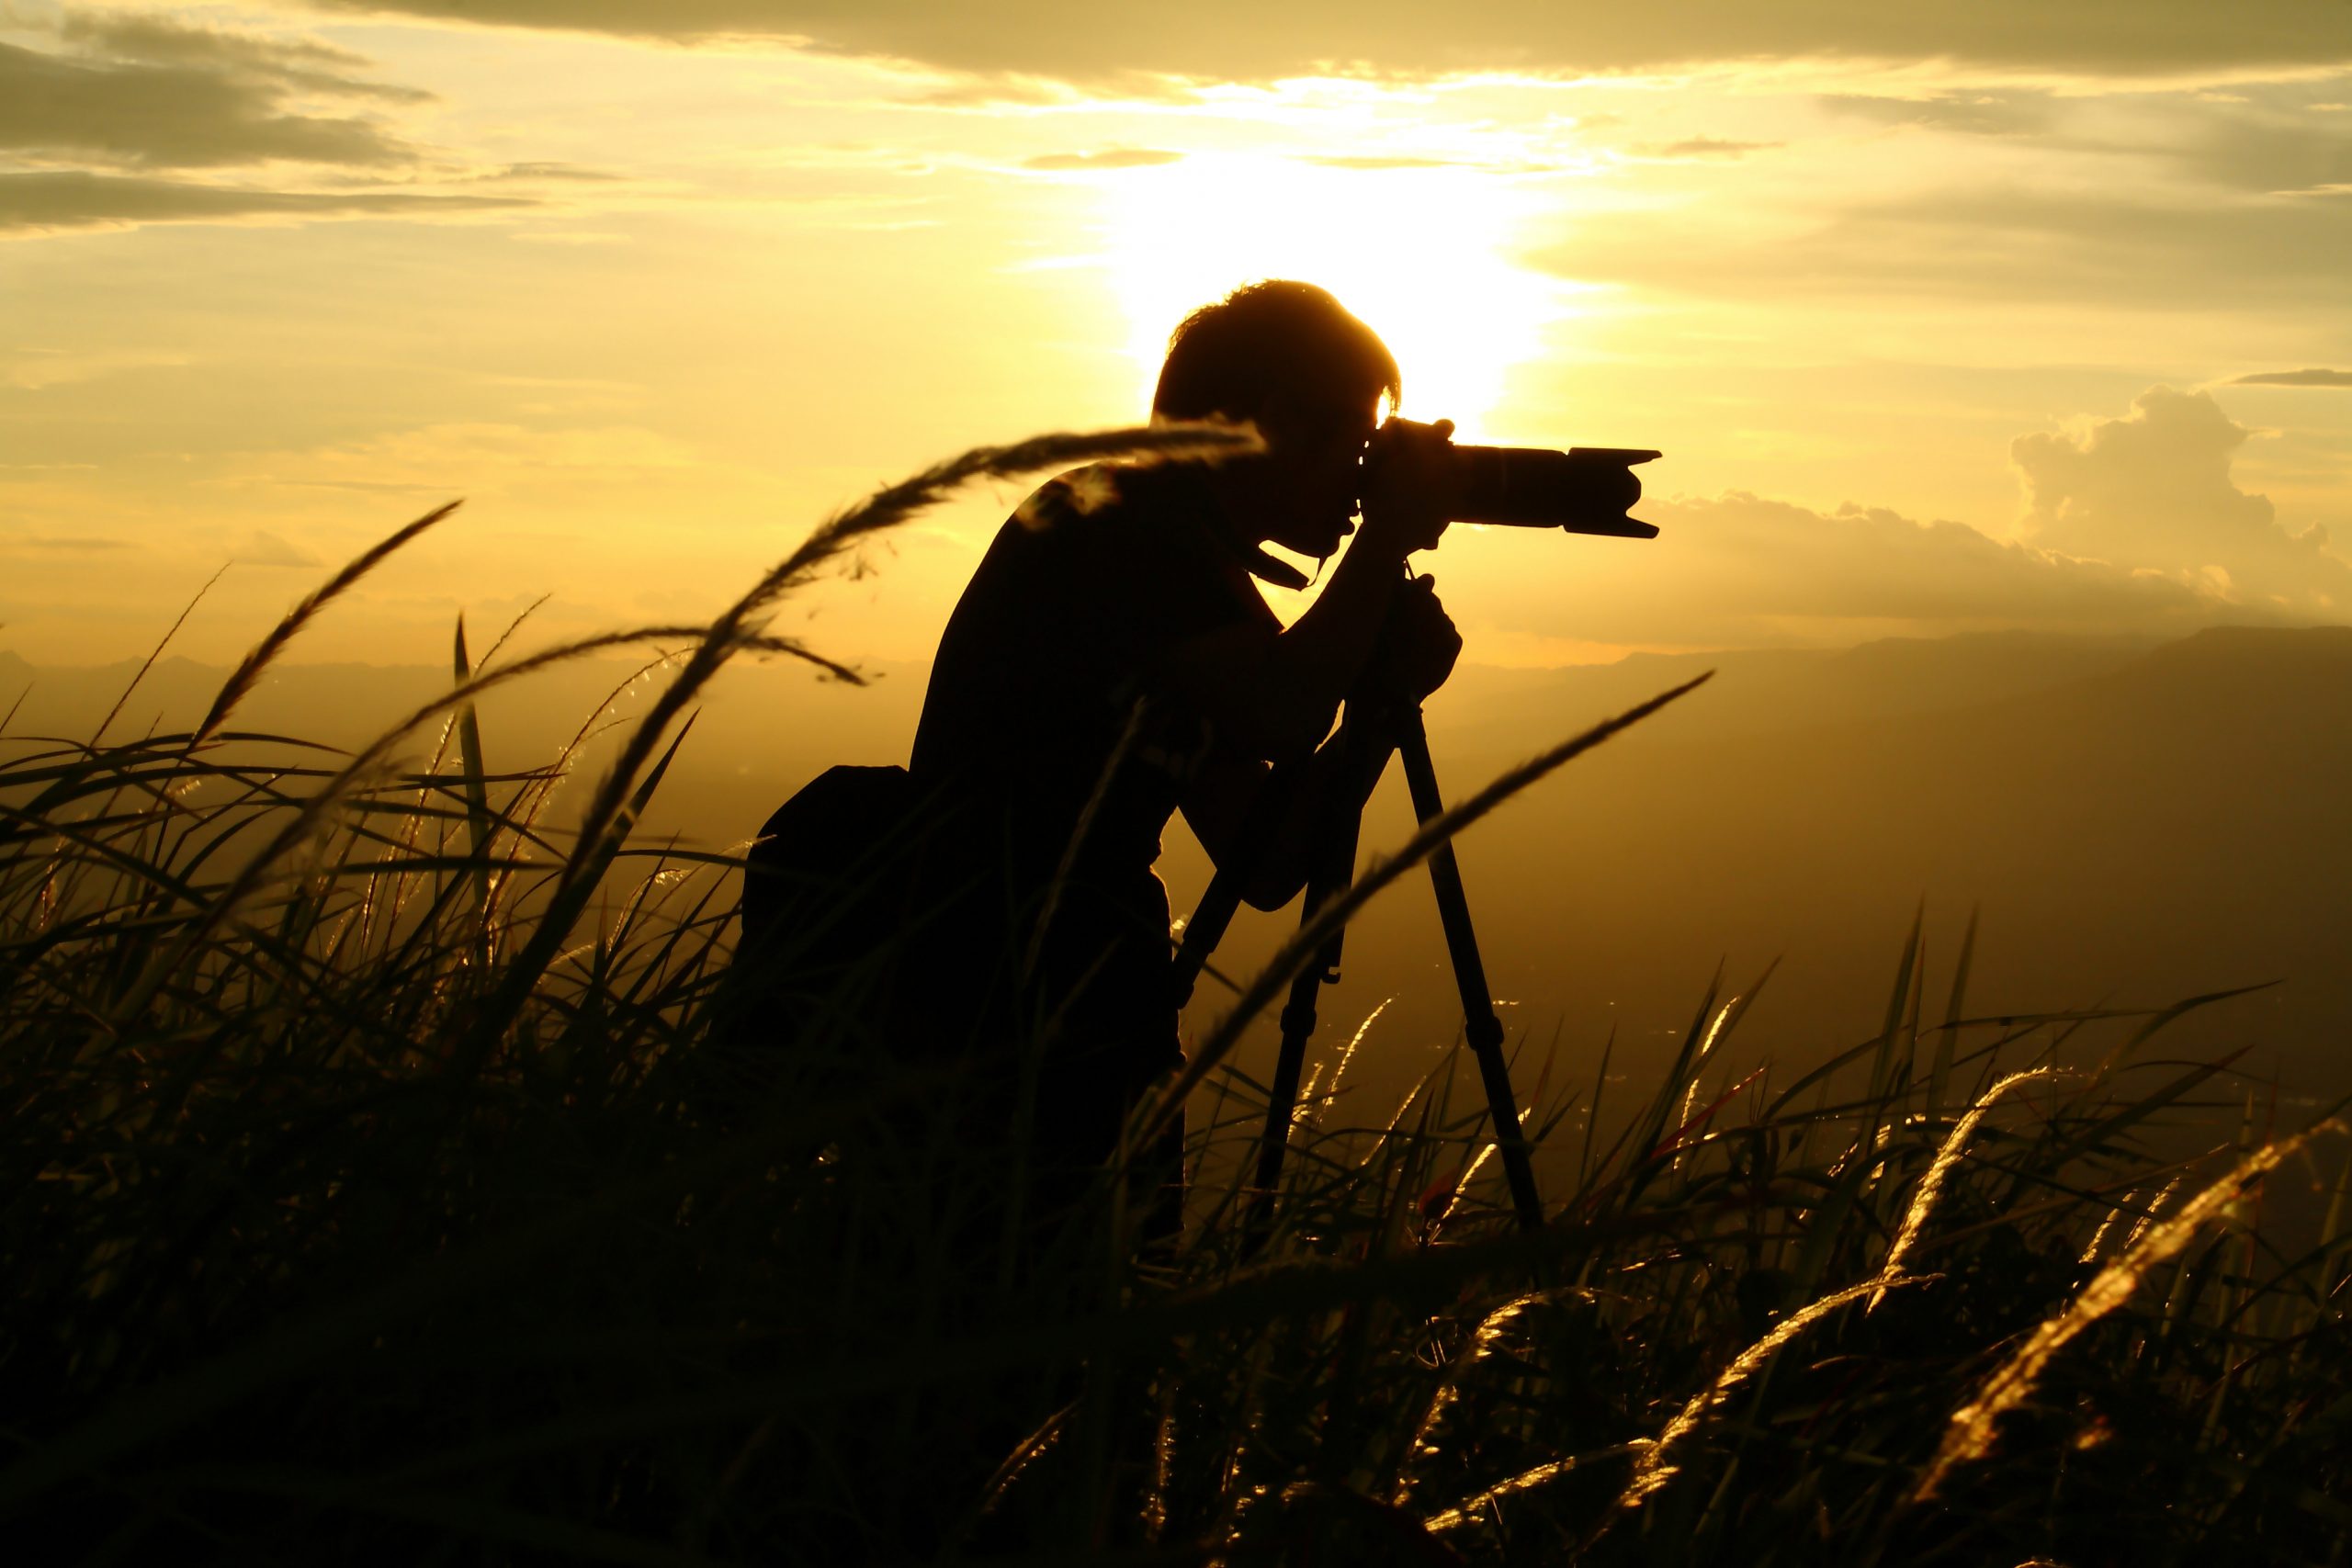
Another popular outdoor lighting strategy is the silhouette portrait. Shooting your subject directly against a blazing sunset or rising moon creates a defined dramatic photo, with the added bonus of a natural frame of diffused light and leading shadows that guide the viewer’s eye where you want it to go. Do remember the pitfalls of shooting with backlight as I have outlined above.
These are just a few ideas to get you started on your journey to mastering the subtle art of seeing light. We have a wealth of tips and ideas in our blog archive, plus products and resources to enhance your skills on our main site. Don’t hesitate to visit our homepage to find out more!
Photography Blogging: A Tool to Share and Showcase Your Work
Wherever you are in your career as a photographer, curating and maintaining a blog can be a powerful tool to share your practice and showcase your work. Even if you are an avid hobbyist, sharing your work online can open new doors. Just as with any new equipment, it’s important to learn about all the features and capabilities of a blog and how best to employ its use for maximum impact.
Share Your Narrative
Today, telling your personal story is a powerful way to garner interest in your work. There are a lot of ways you can share your story through blogging; it all depends on what you are looking to accomplish. If you are looking to establish your credentials as a professional photographer, then a blog is the perfect platform to share your expertise. Many photography bloggers will share professional tips, provide reviews of new equipment they acquire or discuss the ways to capture the best possible image in a specific setting. These are all ways to communicate that you have the knowledge and skills to capture exceptional images. You may also want to share personal stories about your practice as a photographer. Things like the places you go, the people you meet, and the things you discover all help to shed some light on you, the person behind the camera. When you share more personal experiences and memories, people feel like they’re on the journey with you. You may be surprised with how many people start to read your blog and connect with you after you share some details about who you are and the work you’re proud of.
How to Develop a Portfolio
Whether you are hosting a gallery page on your blog or focusing on creating a portfolio blog, sharing your images is really what it’s all about. If you have chosen to focus on a specific type of photographic subject in your work, like wildlife, landscapes, or travel, develop a portfolio that shows off the best examples of that kind of work. Consistent, thematic examples of your best work are always better than an eclectic collection. Gallery pages can show all of your best work, but you can also share your work as it is completed by posting blogs about shots and subjects, sharing small collections, or posting single images that represent a particular moment in your artistic life. Every post should include at least one large, attention-grabbing image to give it visual impact when it’s shared on social media.
Coordinating and Encouraging Social Media Sharing
A photography blog also helps to supply content for social media sharing. Many blogging platforms, like WordPress and Tumblr, allow you to publish on social media platforms simultaneously when you post to your blog. That allows you to share your new post immediately with your followers on multiple platforms. Make sure to allow sharing so that people excited about your work can share it on their own. This will generate a bigger impact each time you post.
These are just a few ways in which to understand the power of using a blog as an up-and-coming photographer. To get the shots you’re looking for, come participate in one of our photography workshops.

