Photography can capture a speeding train or the movement of a crowd. And the technique used all depends on the final goal of the image. There are two primary means for capturing motion in photography. One delivers a clear subject with a blurred background, and the other delivers a blurred subject with a clear background. Here are the basics on Panning and Long Exposure.
Panning

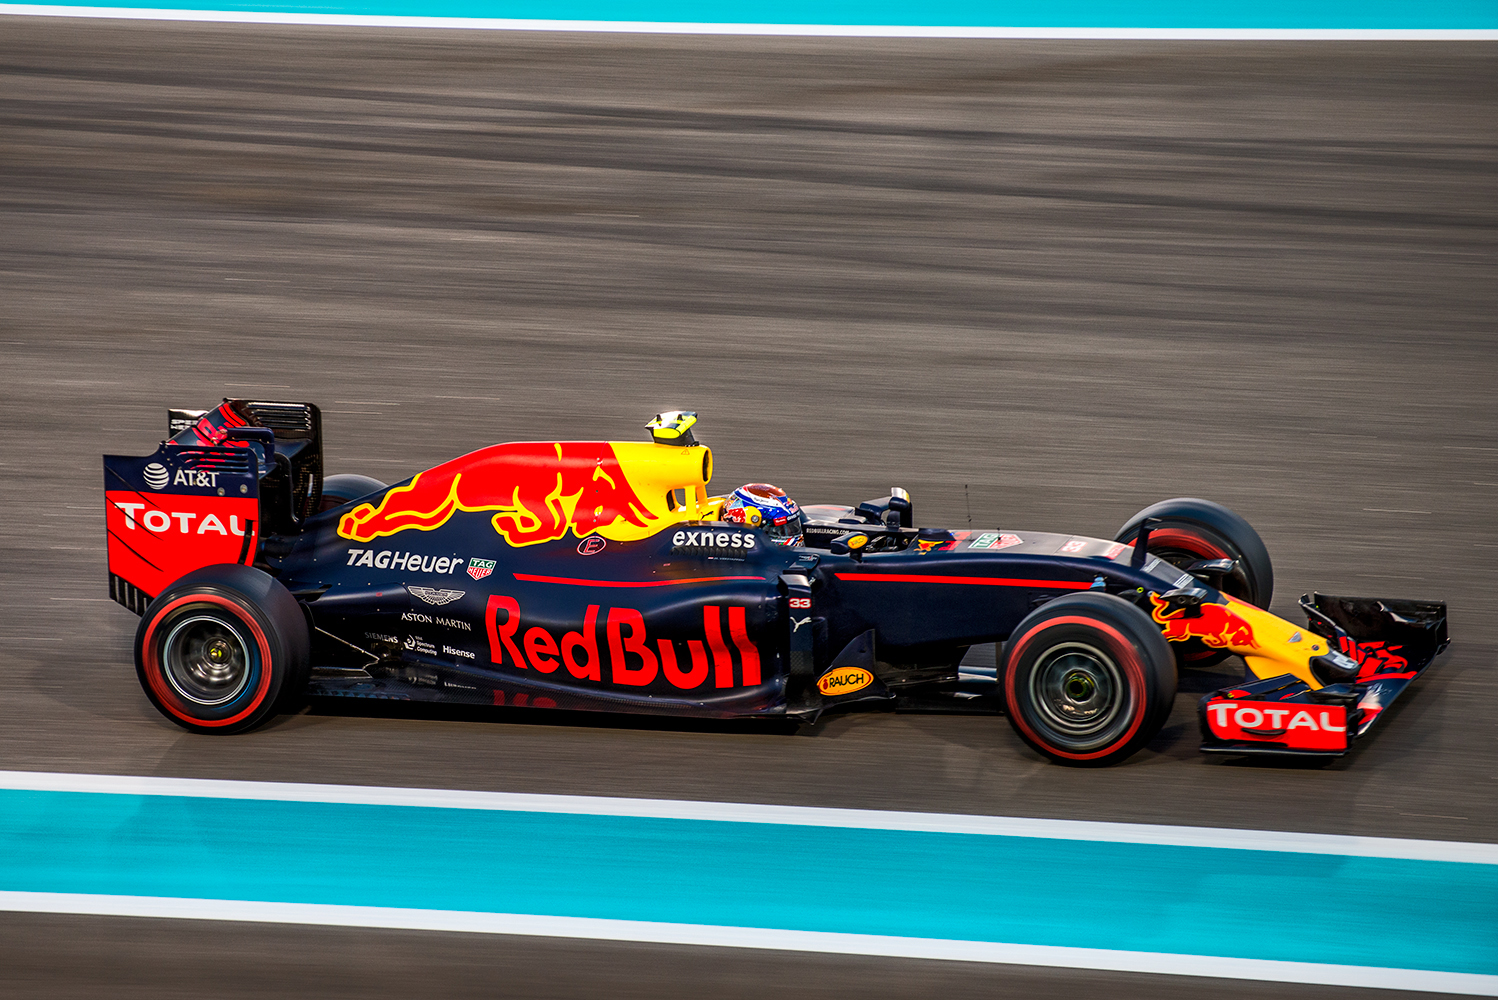
Panning is an especially attractive option if you want to emphasize the speed of your subject and de–emphasize the background. Panning is achieved by selecting a slow shutter speed and moving your lens to follow your subject.
How to Do It
- Use the burst or high continuous shooting mode to take several images in short succession while holding down the shutter button.
- Begin with 1/30th of a second shutter speed. Then, depending on the speed of your subject and the results you desire, adjust your shutter speed slower or faster, as needed.
- Practice following the subject as it passes you. It takes a bit of calculation and a few goes at it to develop a rhythm, but these are skills easily mastered with practice.
- Follow through is the key. To ensure that you capture the subject, shoot and follow it with your lens even after you stop making imges.
- Panning won’t work in every situation, but with patience you’ll get the shot you are looking for. As is often the case in photography, patience pays off!
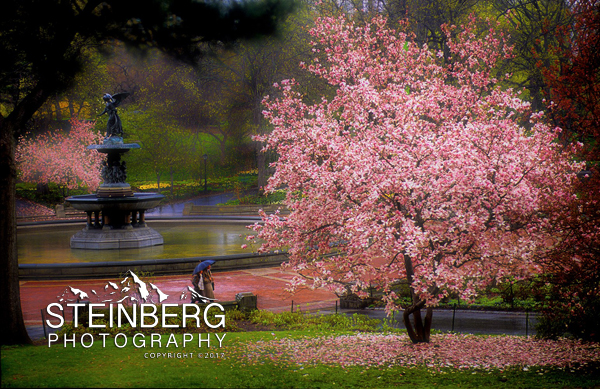
Long Exposure

Long exposure is another way of saying “slow shutter speed.” Long exposure photographs also capture motion. Unlike panning, the camera is held steady. They give you a blurred subject with the background in focus. The background is in focus because stationary elements will remain the same while moving elements will smear themselves across the field of vision like a paintbrush.
How to Do It
Great long exposure photographs are all about trial and error. As electrons are free, it’s inexpensive to experiment with digital cameras. Adjust your shutter speed to find the best fit!
- Try a 1/100th of a second shutter speed.
- Try a 1/40th of a second shutter speed.
- Try 2.5 second shutter speed.
- Try a 5 second shutter speed.
- Compare the results!
You’ll notice that some subjects, like running water, will look similar at different shutter speeds. Other subjects, like fireworks, will end up looking completely different based on the exposure time. And as seen here, it is useful with people as well to create rather dramatic effects.
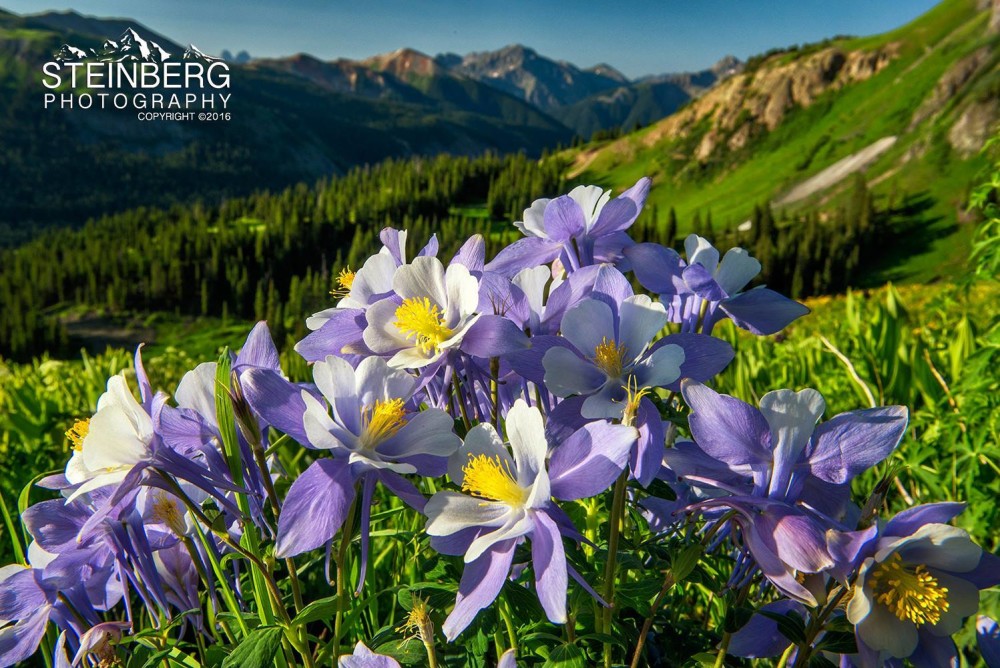
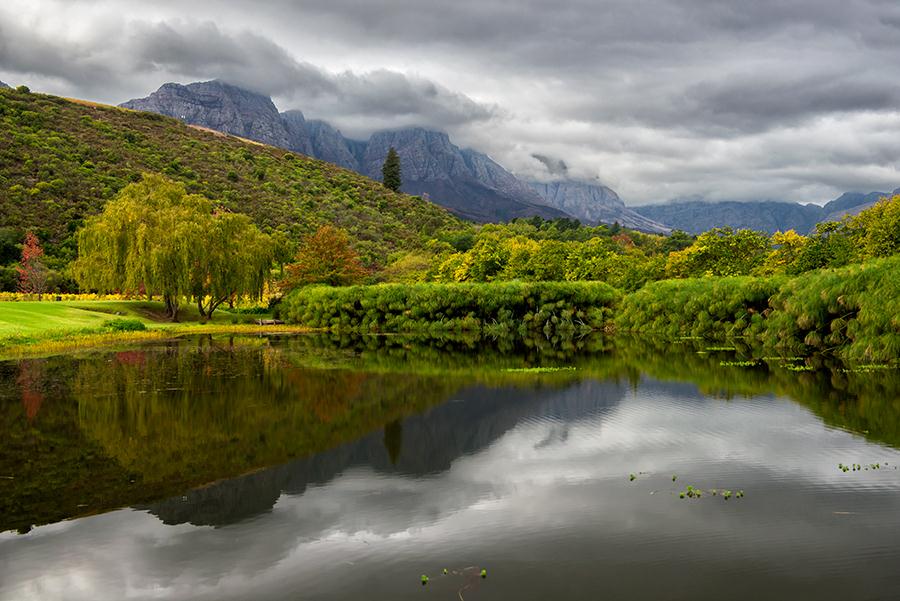
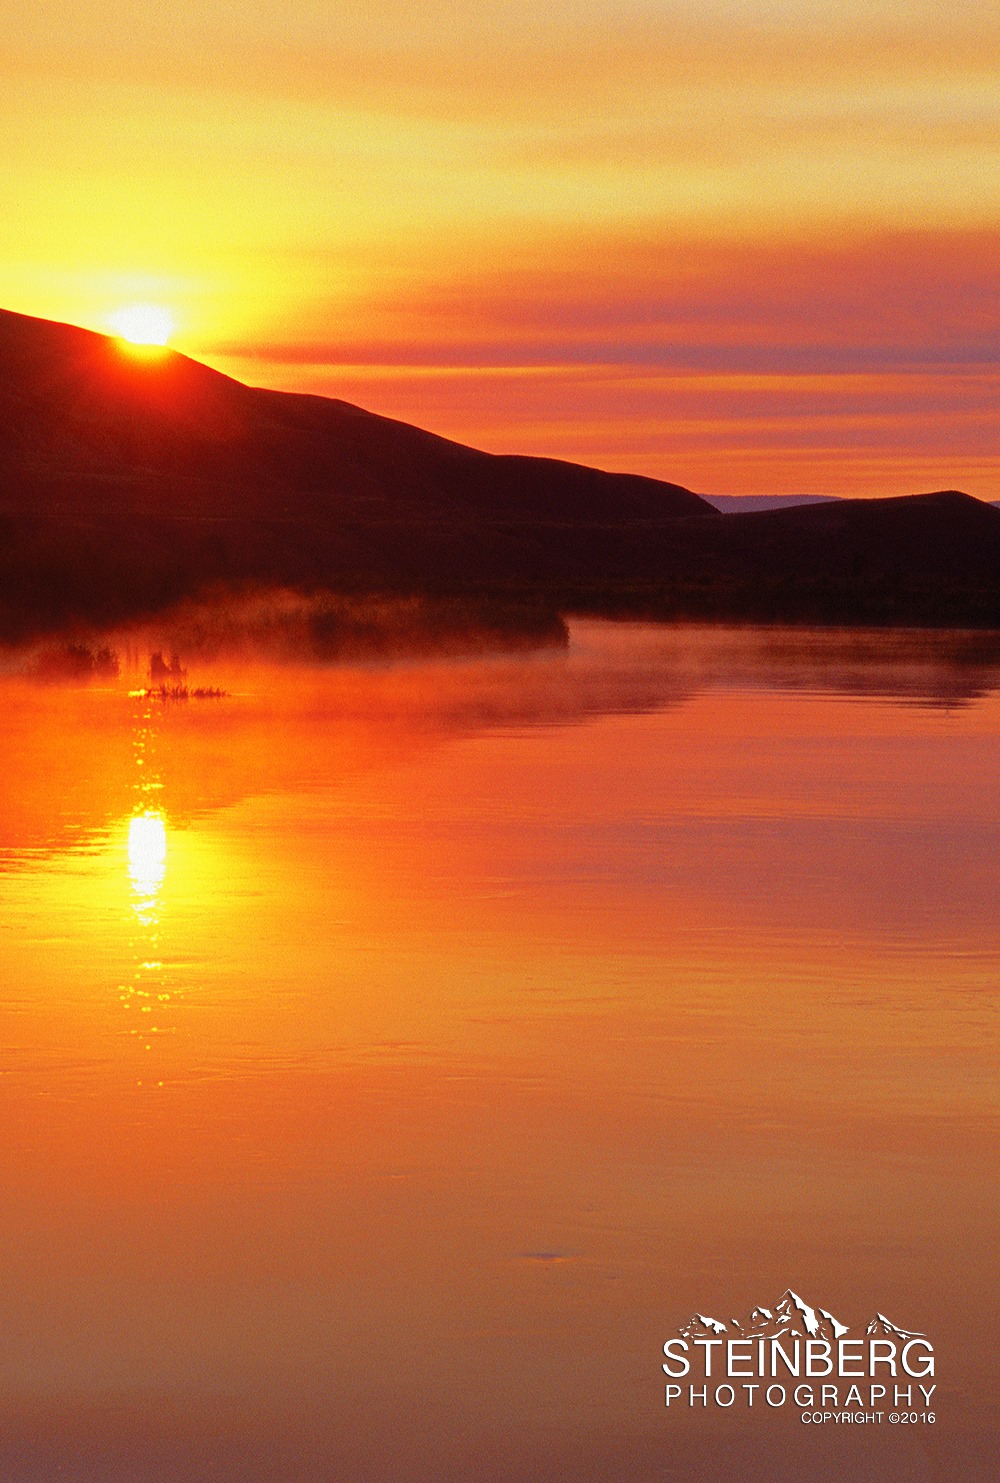
Take Your Landscape Photography to the Next Level
Want to learn more photography tricks from an expert? Professional landscape photographer Jim Steinberg offers numerous workshops and photo tours to help people of all skill levels. His next workshop will be held at Rocky Mountain National Park. Head to our homepage to reserve your slot!